Prep Time 15 Min
Cook Time 10 Min
Servings4 servings People
Calories350 kcal
Last Updated on January 29, 2026 by The Daily Simmer Team
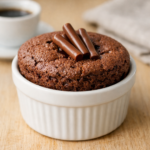
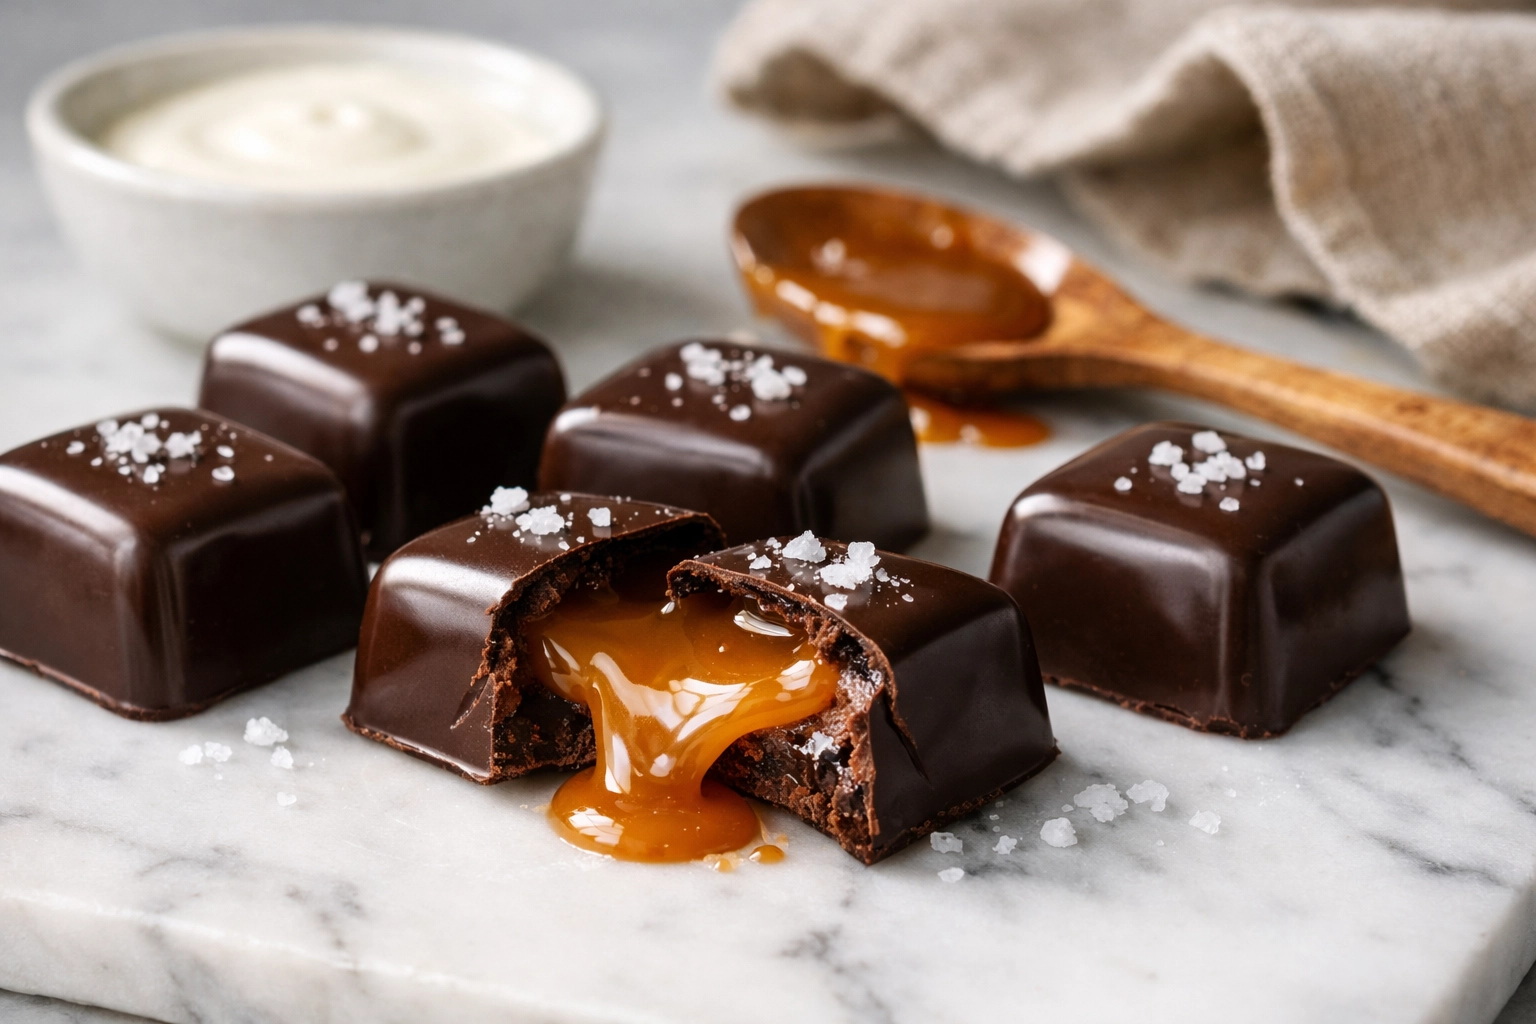
I’ve made caramel filled chocolate a few times now, mostly when I want something sweet to keep around for after dinner or to share with friends who drop by. It’s one of those treats that’s French-inspired but simple enough to do right in my kitchen without fancy equipment. You start by making a basic caramel sauce on the stove, which takes just a bit of watching so it doesn’t burn, and then use melted chocolate as the shell in little molds. I usually do this in the evening when the kids are winding down; it gives time for everything to chill overnight. What I like about this version is how straightforward it is—you probably have most of the ingredients already, like sugar and cream from the fridge. Last time I tried it, I got a little distracted and the caramel got too dark, but it still turned out tasty, just with a deeper flavor. It’s practical because you can portion it into small pieces, and it keeps well for a week or so. We eat it as a quick dessert, sometimes with coffee, and it’s satisfying without being too heavy.
(Easy Homemade Caramel Chocolate Bars)
Contents
Ingredients
- 3 cups chopped chocolate
- 1/2 cup water
- 1 cup sugar
- 1/2 teaspoon salt
- 1 teaspoon liquid vanilla
- 1 cup heavy cream
Instructions
- Combine the water, sugar, salt, vanilla, and heavy cream in a saucepan. Put it over medium heat and stir occasionally until it starts to boil. Once boiling, take it off the heat right away.
- Let the caramel cool down completely; this might take about 30 minutes or so at room temperature.
- Melt the chopped chocolate gently, either in a double boiler or the microwave—stir every 30 seconds to keep it smooth and even.
- Spoon some melted chocolate into each silicone mold, about halfway up. Tap the molds lightly to remove air bubbles, then put them in the fridge for 15 minutes to harden.
- Spoon a small amount of the cooled caramel into each mold on top of the chocolate layer. Don’t overfill or it might leak.
- Pour more melted chocolate over the caramel to fill the molds to the top. Refrigerate again, this time for a full day so everything sets properly.
Why You’ll Love This Recipe
- It’s quick to put together on the stove, with most of the time just in the fridge.
- The caramel adds a soft, chewy contrast to the crisp chocolate shell.
- Perfect for portioning out small bites when serving company or packing for lunches.
Chef’s Tips for Perfection
- Keep stirring the caramel as it heats to avoid crystallization; if it starts to clump, a splash of water helps smooth it out.
- Use room temperature molds for the chocolate so it sets evenly without cracking later.
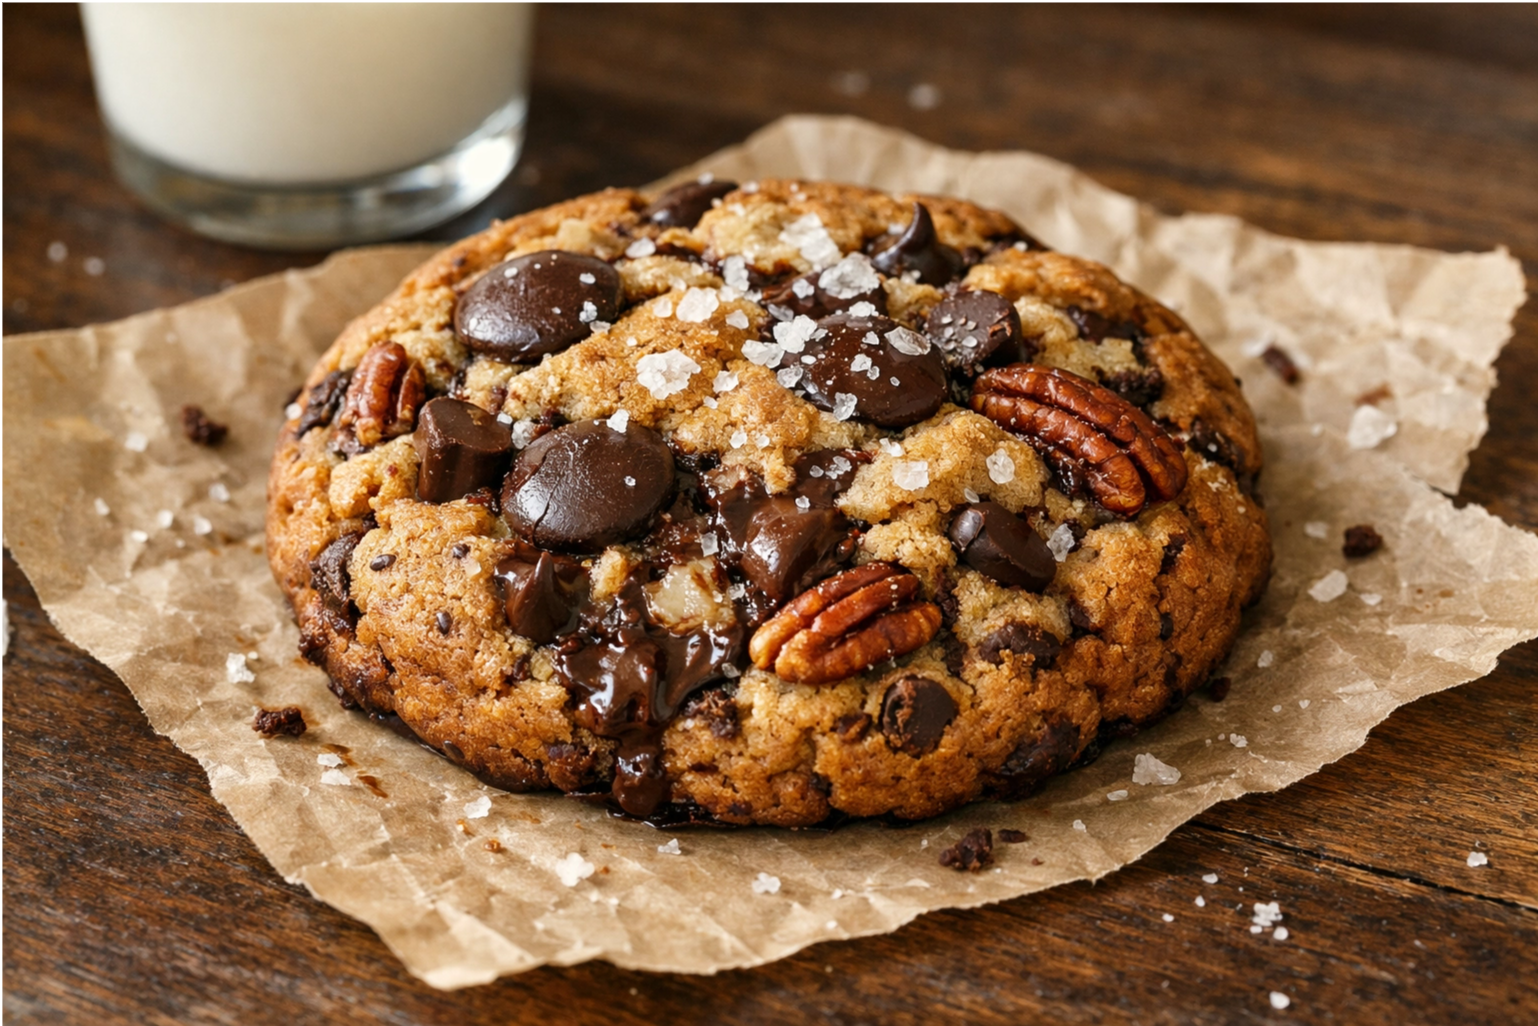
- If you want a nutty twist, stir in some chopped pecans to the caramel before filling, but keep it simple the first time.
Storage and Reheating
Once set, pop the chocolates out of the molds and store them in an airtight container in the fridge. They last up to a week like that. No need to reheat—just let them sit out for a few minutes if you want them less firm.
Nutritional Notes
Each serving has about 350 calories, mostly from the chocolate and cream. It’s high in sugar and fat, so keep portions small.